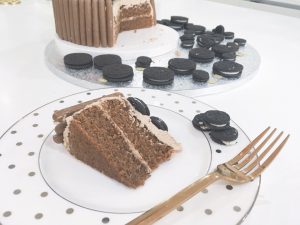
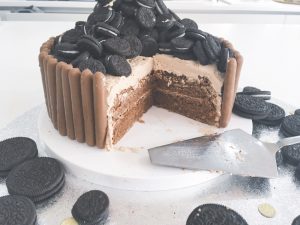
The lightest of chocolate cakes with Oreo biscuits cascading onto a light whipped chocolate buttercream, in this show stopping anti gravity cake….
Yesterday was my son’s 16th birthday, and I therefore felt the need to mark it with a super special birthday cake. The reality is that most 16 year olds don’t want to do much for their birthdays, or at least with their parents, so this was my way of getting myself involved! Also, there really isn’t much I can’t bribe my son to do with the promise of Oreo biscuits, so this was a natural choice for his birthday cake.
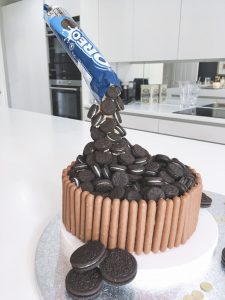
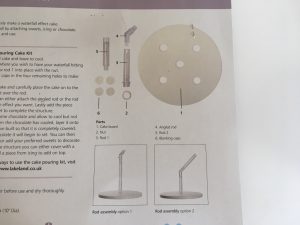
I bought an anti gravity kit from Lakeland, which they actually call a ‘Pouring Kit’. I’m sure there are ways to get the cascading effect without using a kit, but honestly it made my life so much easier it was definitely worth the money. Also, you obviously don’t need to use Oreo biscuits, I’ve seen this done with all sort of sweets and chocolates, and the effect is really impressive whatever you use.
The cake itself is a beautiful light chocolate sponge using sour cream which as a result gives an airy lightness to it. As a family we are not huge fans of rich chocolate cake, so this works perfectly for us. Also, as I was adding so much chocolate with the Oreo biscuits and chocolate fingers, it really was quite nice to have a light cake base. It’s also worth mentioning that it’s a fabulous quick cake to make, simply putting all ingredients in to mix at the same time. Consequently, with the time needed to individually place mini Oreo biscuits this was a godsend!
Don’t be intimidated by how complicated this looks; with time and patience anyone can do this, honestly! I promise it really is worth the effort.
Enjoy!
Oreo Anti Gravity Chocolate Cake
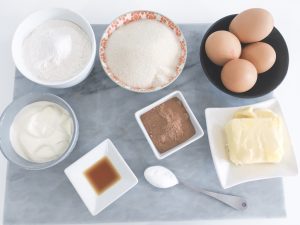
Ingredients
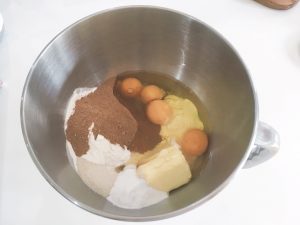
- 150g Soft Butter, room temperature
- 250g Caster Sugar
- 150g Self Raising Flour
- 125g Sour Cream
- 4 Large Eggs, room temperature
- 50g Cocoa Powder
- 1 tsp. Baking Powder
- Pinch of Salt
- 1 tsp. Vanilla Extract
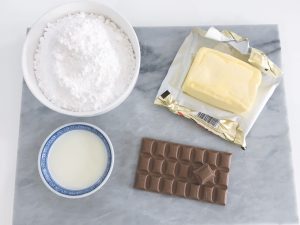
Icing
- 550g Icing Sugar
- 250 Soft Butter, room temperature
- 2 tbsp. Milk
- 100g Milk or Dark Chocolate, melted
To Decorate
- Anti Gravity Kit (Lakeland do a great one)
- I Oreo Biscuit Packet, empty
- Cardboard tube (kitchen roll tube is ideal)
- 3 x 110g packs Cadbury Chocolate Fingers (approx.)
- 450g Mini Oreo Biscuits

Method
Firstly, preheat oven to Gas 160°C fan, and then grease and line 2 x 20cm cake tins with baking paper.
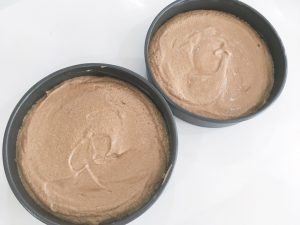
For the cake, add the first 9 ingredients to the bowl of a food mixer, and beat until a smooth batter forms.
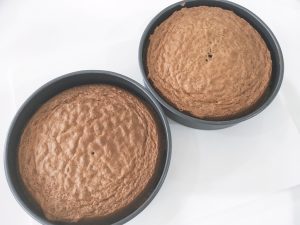
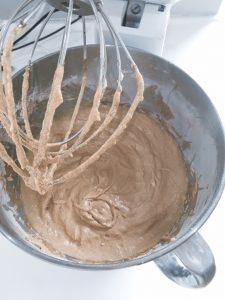 Divide the batter evenly between the 2 cake tins, and then bake in the oven for 25-30 minutes.
Once cooked, remove from oven and leave to cool in tins for a few minutes before removing and leaving to cool completely on a wire rack.
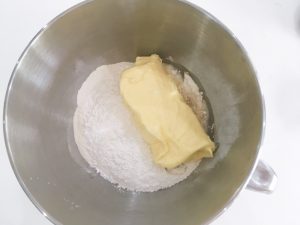
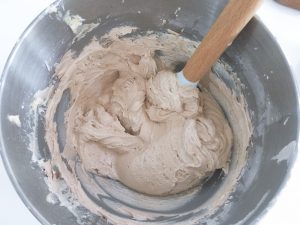
While the cakes are cooling, make the icing. Add the icing sugar, butter and milk to the bowl of a mixer and beat until really smooth and light in colour. This should take a few minutes to do, so you will need some patience! Finally stir through the melted chocolate, mixing until thoroughly incorporated.
Once the cakes are completely cooled, spread some of the buttercream icing on to one of the halves and sandwich the two together. At this stage you can cover completely with buttercream, decorate and serve, alternatively you can use the anti gravity kit as I’m about to talk you through next.
Decorating your Anti Gravity Cake…
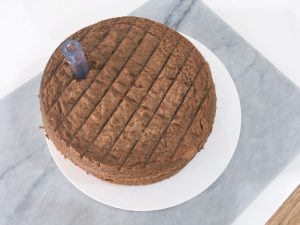
If you are making the anti gravity cake, sandwich the 2 cake halves together as described above and assemble the kit as per packet instructions.
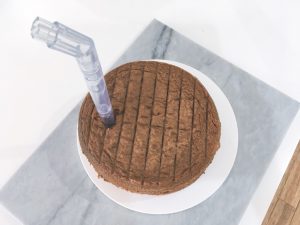
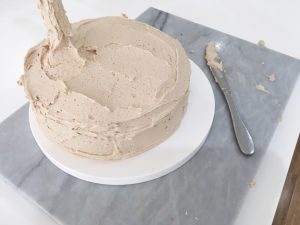
Carefully lower the cake over the rod of the kit pushing it up through the cake as you lower onto the board. Breathe a huge sigh of relief as I did, if you do this without doing any damage to the cake! Once safely in place, cover with the icing, taking the icing up to completely cover the angled rod also.
Next, cut the cardboard tube to size and fit inside the empty Oreo packet. Place this over the top of the angled rod and gently press into the icing to hold it in place. Now the fun and time consuming part, decorating the cake.
Firstly, place the chocolate fingers around the outside edge of the cake, and then cover with the mini Oreo biscuits.
I would recommend covering the base first and then building the biscuits up the icing covered rod. There should be icing left over, so use this to place biscuits over any gaps once your cake is covered. A gentle touch is recommended!